How to Make Flavorful Baked Beans recipe from Dry Beans
Discover how to make rich, flavorful baked beans from dry beans with this easy step-by-step recipe. Perfect for family dinners or BBQs! Contents hide 1 Why Baked Beans recipe from Dry Beans 2 1. Better Control Over Texture and Flavor 3 2. Customizable Seasoning 3.1 3. Cost-Effective 4 What You Need for a Perfect Baked…
Discover how to make rich, flavorful baked beans from dry beans with this easy step-by-step recipe. Perfect for family dinners or BBQs!
Why Baked Beans recipe from Dry Beans
When making baked beans, using dry beans instead of canned offers several advantages that can greatly improve the flavor and quality of your dish. Here’s why dry beans are often the preferred choice for homemade baked beans:
1. Better Control Over Texture and Flavor
Dry beans allow you to control the texture more precisely. Since you soak and cook the beans yourself, you can ensure that they are tender without being mushy. This results in a much better mouthfeel than canned beans, which can sometimes be too soft or break apart easily during cooking.
2. Customizable Seasoning
When you use dry beans, you can add your preferred seasonings and flavors from the start. With canned beans, the flavor is often pre-determined, and they can sometimes be too salty or bland. Cooking beans from scratch gives you the opportunity to create a perfectly balanced taste.
3. Cost-Effective
Dry beans are typically more affordable than canned beans, especially when you are making larger batches. Buying in bulk can save you money in the long run, making it a budget-friendly option for families or those who like to cook in large quantities.
What You Need for a Perfect Baked Beans recipe from Dry Beans
To create a delicious batch of homemade baked beans from dry beans, you’ll need a few essential ingredients. Here’s a list of what you’ll need, including measurements for each:
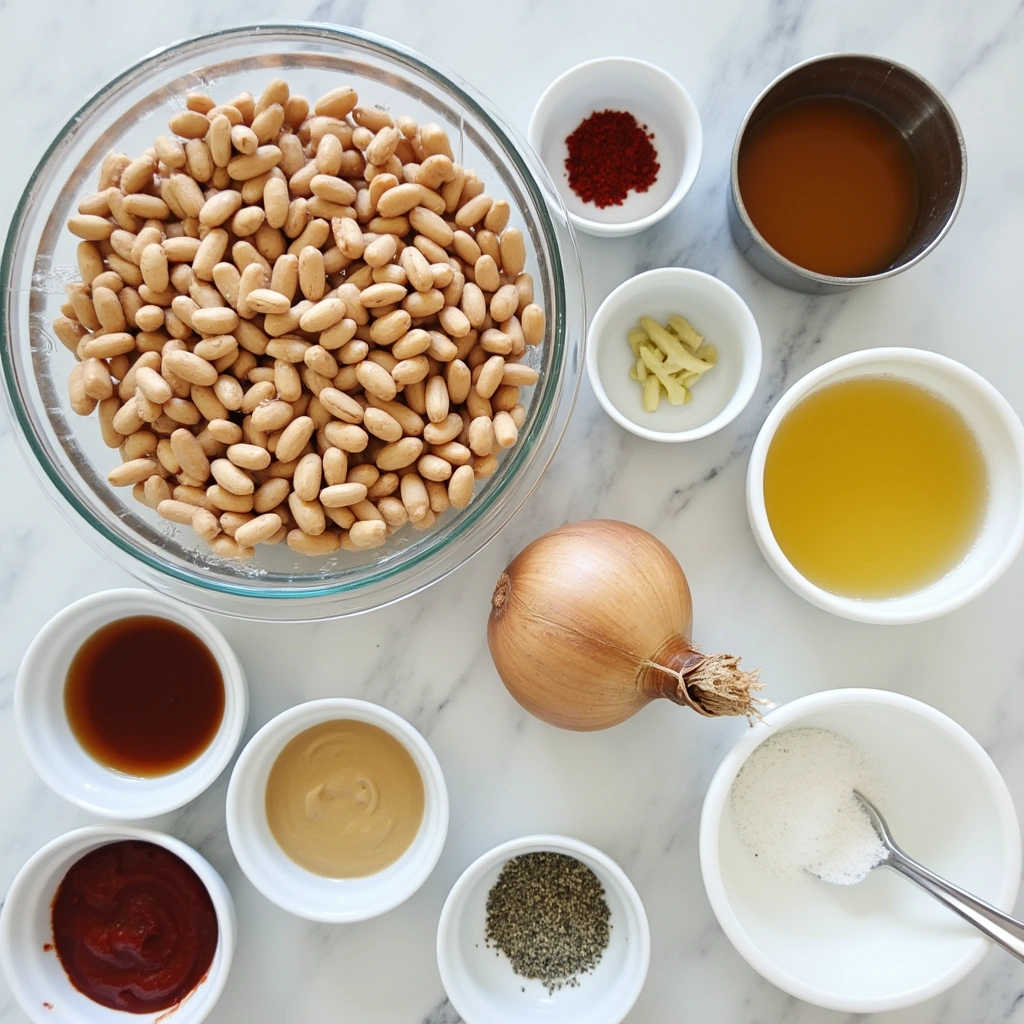
Essential Ingredients:
- 1 lb (450g) dry navy beans – This is the main ingredient for your baked beans. Navy beans are small and tender, making them perfect for this dish.
- 6 cups water (for soaking) – The water will be used to soak the dry beans overnight or for the quick soak method.
- 6 cups water (for cooking) – Fresh water for boiling the soaked beans.
Flavoring Ingredients:
- 1 medium onion, finely chopped – Adds a savory depth of flavor to the beans.
- 3 cloves garlic, minced – Provides a rich, aromatic base for the sauce.
- 1/4 cup molasses – Gives the beans their signature sweet and rich flavor.
- 1/4 cup brown sugar – Enhances the sweetness and caramelizes during baking.
- 1/4 cup ketchup – Adds a tangy, tomato-based flavor that balances the sweetness.
- 1 tbsp mustard – Gives the beans a bit of tang and sharpness.
- 1 tbsp apple cider vinegar – Balances the sweetness of the beans with a slight acidity.
- 1/2 tsp salt – Enhances all the flavors in the dish.
- 1/2 tsp black pepper – Adds subtle heat and flavor.
- 1/2 tsp smoked paprika – Brings a smoky undertone to the beans.
- 1/2 tsp ground cinnamon (optional) – Adds a touch of warmth and complexity to the sauce.
Optional Ingredients for Added Flavor:
- 2 tbsp olive oil or bacon fat – For sautéing the onions and garlic, and adding richness to the dish.
- 1-2 slices bacon, chopped (optional) – For extra smokiness and flavor if you like a meaty version of baked beans.
These ingredients come together to create a rich, flavorful sauce that coats the tender beans, resulting in the perfect homemade baked beans. Adjust the seasonings according to your taste preferences, and feel free to experiment with additional spices or ingredients to make the recipe your own!
If you’re short on time, you can try Instant Pot baked beans for a quicker version.
Step-by-Step Guide to Making Baked Beans from Dry Beans
Making baked beans from dry beans is a simple yet rewarding process. Below is a step-by-step guide to ensure you get the perfect batch every time. Follow these steps to create a flavorful, homemade dish that your family and friends will love.
Step 1: Soak the Beans
- Why Soak?
Soaking the beans is essential because it reduces the cooking time and helps the beans cook more evenly. It also helps to eliminate some of the natural indigestible sugars that can cause discomfort. - How to Soak:
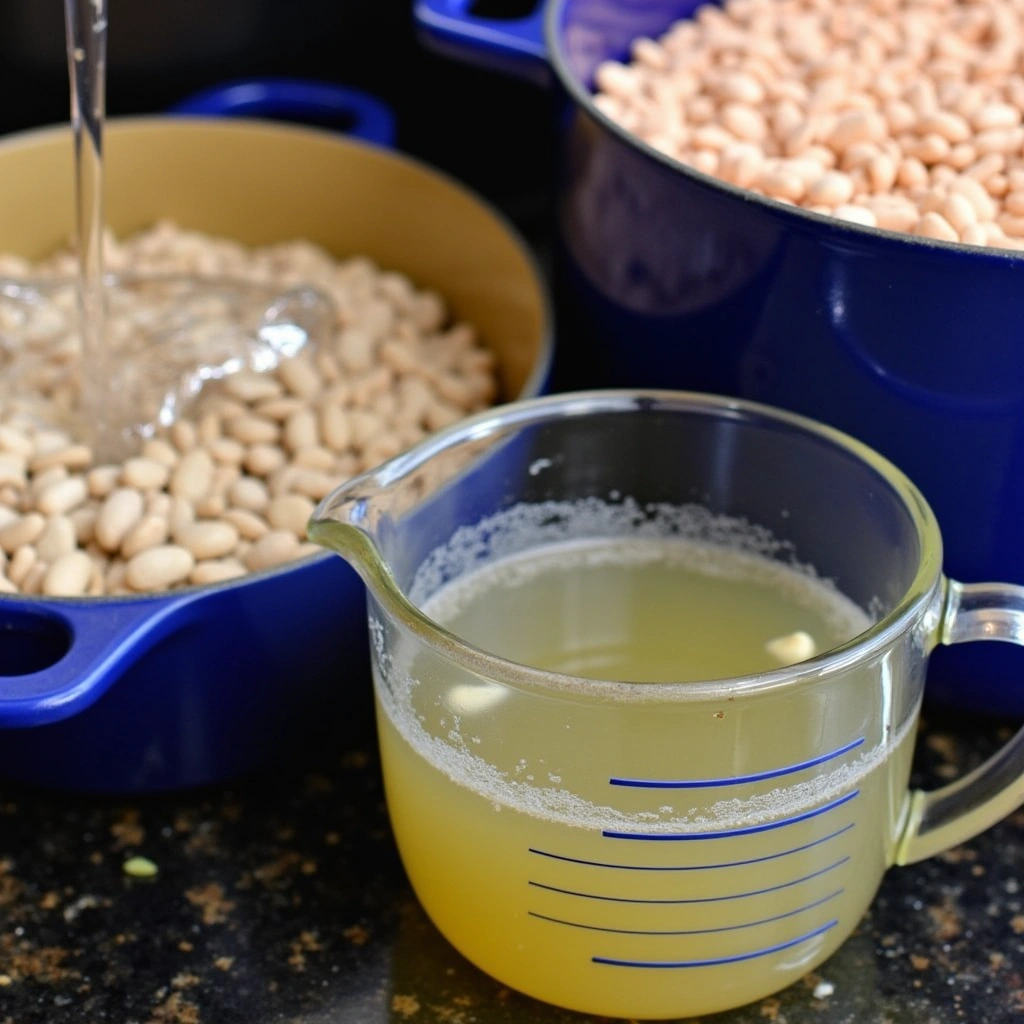
Rinse the dry navy beans thoroughly under cold water to remove any dirt or debris. Next, place the beans in a large bowl and cover them with about 6 cups of water. Let the beans soak for 8 to 12 hours (overnight works best). Alternatively, for a quicker soak, bring the beans to a boil for 2 minutes, remove from heat, and let them sit, covered, for 1 hour before draining.
2: Cook the Beans
- Why Cook?
Cooking the beans helps tenderize them before baking. It’s important not to overcook the beans during this step because they will continue to cook in the oven. - How to Cook:
Drain and rinse the soaked beans. Place them in a large pot and cover them with about 6 cups of fresh water. Bring the water to a boil, then reduce the heat to a simmer. Cook the beans for 45 minutes to 1 hour, or until they are just tender but not falling apart. Drain the beans, but reserve about 1 cup of the cooking liquid for later use.
3: Prepare the Flavorful Sauce
- Why the Sauce?
The sauce is what gives your baked beans that rich, tangy, and sweet flavor. It’s crucial to get the balance of sweet and savory just right. - How to Prepare:
In a separate mixing bowl, combine the following ingredients: - 1/4 cup molasses
- 1/4 cup brown sugar
- 1/4 cup ketchup
- 1 tbsp mustard
- 1 tbsp apple cider vinegar
- 1/2 tsp salt
- 1/2 tsp black pepper
- 1/2 tsp smoked paprika
- 1/2 tsp ground cinnamon (optional, for extra flavor)
Stir until the mixture is smooth and well combined.
Step 4: Bake the Beans
- Why Bake?
Baking the beans allows them to absorb all the delicious sauce, creating a thick, rich coating around each bean. - How to Bake:
Preheat your oven to 325°F (165°C).
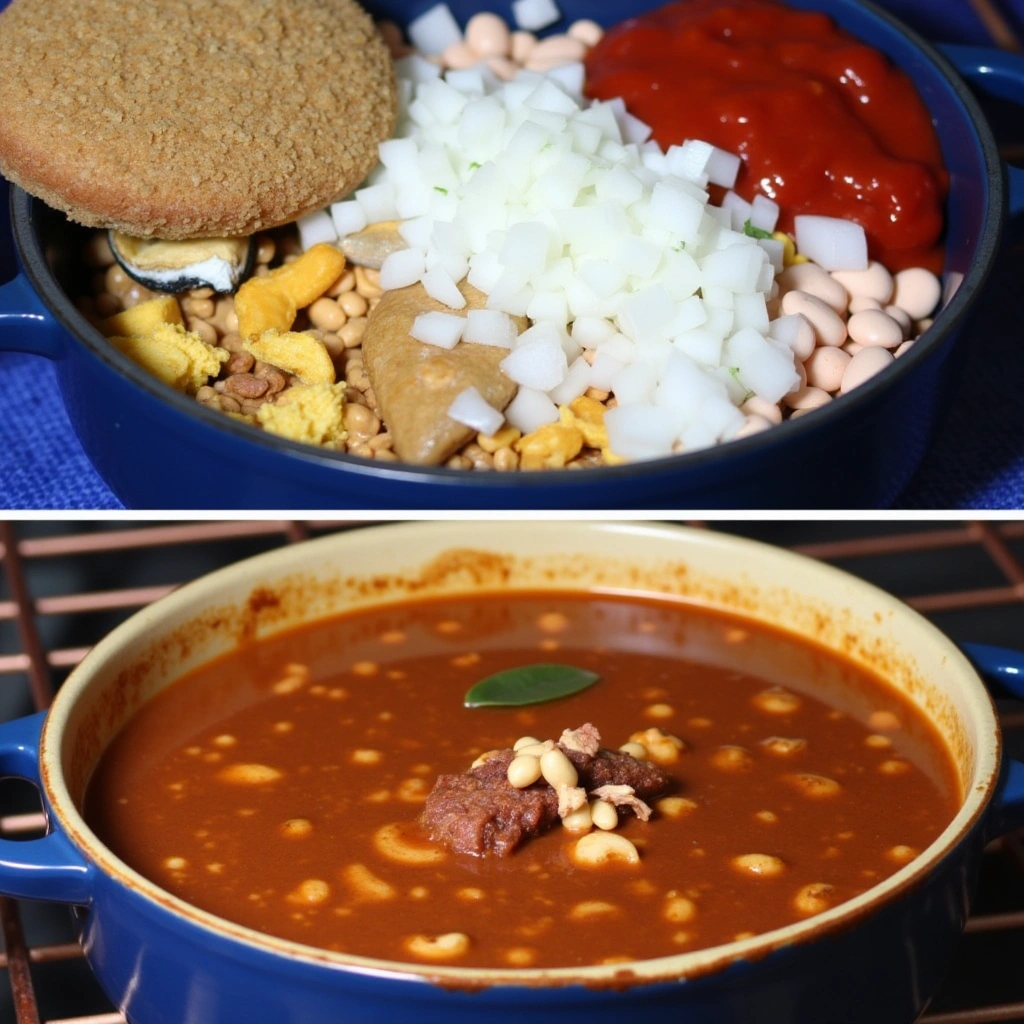
In a large baking dish, combine the cooked beans, the prepared sauce, and the chopped onion and garlic. Add about 1 cup of water from the reserved cooking liquid to help create a nice sauce consistency. Stir everything together to ensure the beans are well coated.
Cover the baking dish with aluminum foil to trap moisture and bake the beans in the preheated oven for 1 to 1.5 hours. During baking, check the beans every 30 minutes and add more water if the sauce starts to thicken too much. In the last 20-30 minutes, you can uncover the dish for a thicker sauce.
Step 5: Final Touches and Serve
- Why Let Them Rest?
Allowing the beans to rest for a few minutes after baking helps the sauce thicken and settle. - How to Serve:
Once the beans are done, remove them from the oven and let them sit for about 5 minutes before serving. This allows the sauce to thicken further. Taste the beans and adjust the seasoning if necessary by adding a little more salt, pepper, or vinegar to balance the flavors.
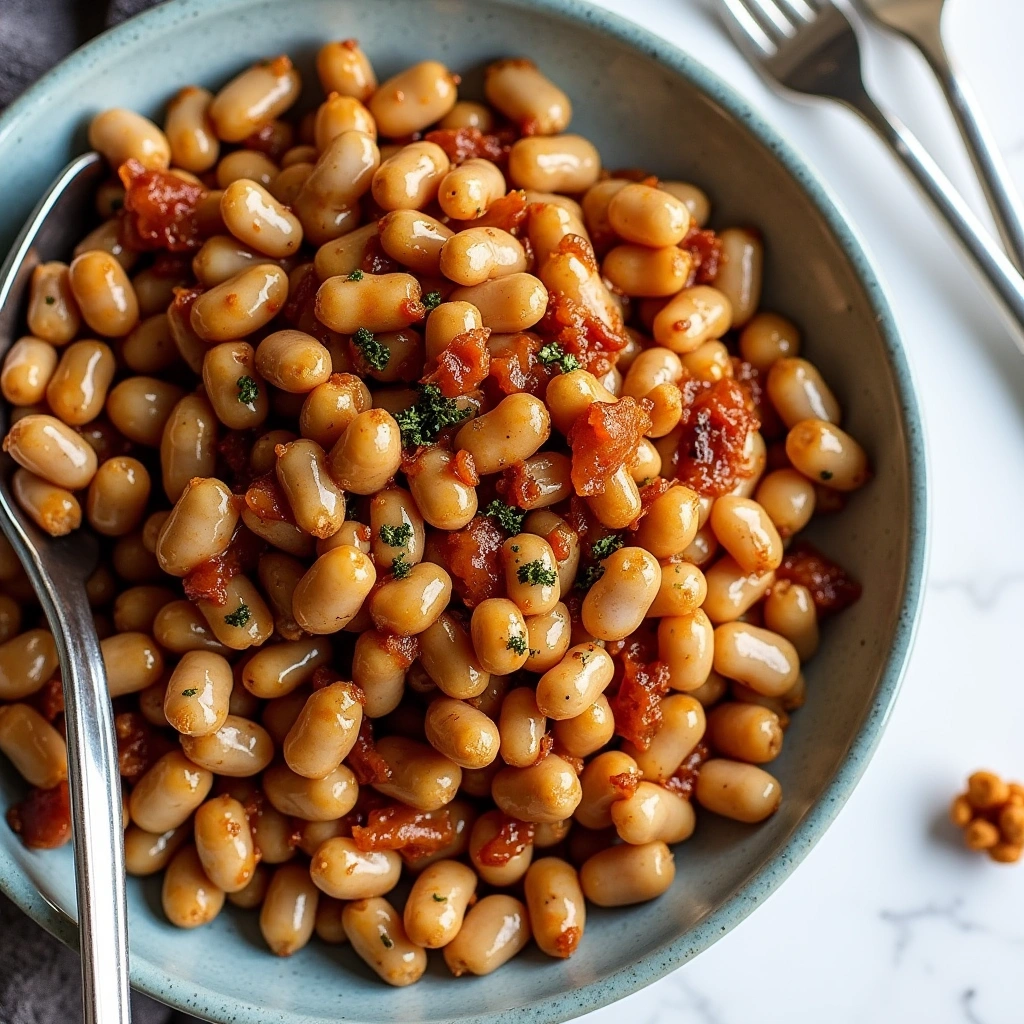
Your homemade Baked Beans recipe from Dry Beans are now ready to serve! Pair them with grilled meats, cornbread, or any of your favorite side dishes for a delicious meal. Enjoy!
If you’re looking for a fully plant-based twist, check out this vegetarian baked bean alternative.
Tips for Making the Best Baked Beans recipe from Dry Beans
Making the perfect batch of baked beans requires a few simple techniques to ensure you get the best flavor, texture, and consistency. Here are some helpful tips to elevate your homemade baked beans:
1. Soak the Beans Properly
Soaking the beans is one of the most important steps in making baked beans. It not only shortens the cooking time but also improves the texture of the beans. Be sure to soak your beans for at least 8-12 hours overnight. If you’re short on time, use the quick-soak method: bring the beans to a boil, let them sit for an hour, then drain and rinse them.
2. Don’t Overcook the Beans During Pre-cooking
While cooking the beans, make sure you don’t overcook them. They should be tender but still hold their shape. Overcooking during the initial simmer can result in mushy beans after baking. Aim for 45 minutes to 1 hour of cooking time until the beans are just tender.
3. Balance Sweet and Savory Flavors
Baked beans are all about balance. Ensure your sauce has the perfect mix of sweet and savory flavors. The molasses and brown sugar add sweetness, while the mustard, vinegar, and smoked paprika provide tang and depth. Taste your sauce before combining it with the beans and adjust the seasoning if necessary. You can add a bit more vinegar for acidity or sugar for sweetness, depending on your preference.
4. Use Fresh, Quality Ingredients
For the best-tasting baked beans, use fresh, high-quality ingredients. Fresh onions and garlic will provide a more vibrant flavor compared to pre-chopped or jarred versions. When possible, opt for freshly ground spices like smoked paprika and cinnamon, as they offer more potent flavors than store-bought versions.
5. Slow-Bake for Rich Flavor
Slow baking is key to developing deep, rich flavors in your beans. Bake your beans at 325°F (165°C) for 1 to 1.5 hours. The long, slow cooking process allows the beans to absorb all the flavors of the sauce, giving them that signature baked beans taste. For a thicker sauce, bake uncovered for the last 20-30 minutes.
6. Stir Occasionally While Baking
While the beans bake, give them a stir every 30 minutes to make sure the sauce coats the beans evenly. If the beans start to dry out, add a bit more water or reserved cooking liquid to keep them moist. This will also help prevent burning or uneven cooking.
7. Add Bacon for Extra Flavor
If you’re a fan of bacon, consider adding some to your baked beans for an extra smoky flavor. Chop 1-2 slices of bacon and sauté it with the onions and garlic before mixing it into the beans. The rendered bacon fat will also add richness to the dish.
8. Use Leftover Cooking Liquid for the Sauce
Instead of adding water directly to the beans, use the reserved cooking liquid from boiling the beans. This liquid is full of flavor and nutrients, making it an excellent base for the sauce. It will help keep the beans moist while baking and enhance the overall taste.
9. Experiment with Spices and Seasonings
Feel free to experiment with spices to make the dish your own. Adding a pinch of ground cumin, chili powder, or bay leaves can give your baked beans a unique twist. Adjust the spices to suit your taste and try out different combinations to find your perfect flavor profile.
10. Let the Beans Rest After Baking
Once the beans are done baking, let them sit for about 5-10 minutes before serving. This helps the sauce thicken and settle, giving you the perfect texture. The beans will also absorb more flavor during this resting period.
By following these tips, you’ll ensure your baked beans turn out tender, flavorful, and perfectly balanced every time!
Want to try something similar? Here’s a spiced Indian twist on baked beans.
Common Mistakes to Avoid When Making Baked Beans
While making Baked Beans recipe from Dry Beans is relatively straightforward, there are a few common mistakes that can affect the final result. Avoiding these pitfalls will help you achieve the perfect batch of homemade baked beans every time.
1. Not Soaking the Beans Long Enough
Soaking the beans is crucial for achieving the right texture. If you skip the soaking process or don’t soak them long enough, the beans may remain tough and undercooked even after hours of simmering and baking. Be sure to soak the beans for 8 to 12 hours overnight or use the quick-soak method to ensure they are properly hydrated.
2. Overcooking the Beans in the First Step
It’s tempting to cook the beans for longer than necessary during the initial simmering phase, but overcooking the beans can lead to a mushy texture after baking. The goal is to cook the beans just enough so they are tender, but still hold their shape when baked. Aim for 45 minutes to 1 hour of simmering time, depending on the size of the beans.
3. Using Too Much Water
Adding too much water during cooking or baking can dilute the flavors of the sauce and result in a watery dish. Be mindful of the water-to-bean ratio, and always check the consistency of the sauce while baking. If the beans look too watery, remove the foil towards the end of the baking process to allow the liquid to evaporate and thicken the sauce.
4. Underseasoning the Beans
Baked beans need a balance of sweet, savory, and tangy flavors to bring out the best in them. Skipping key seasonings like molasses, brown sugar, mustard, and vinegar can result in bland beans. Always taste your sauce before combining it with the beans and adjust the seasonings if necessary. Don’t be afraid to add a little extra vinegar or sugar to achieve the right flavor balance.
5. Not Stirring While Baking
It’s easy to forget to stir the beans as they bake, but occasional stirring is essential to ensure that the beans are evenly coated with the sauce. Stirring also helps prevent the beans from drying out or burning at the edges. Be sure to stir the beans every 30 minutes during the baking process and add more water or cooking liquid if the beans start to look dry.
6. Not Adjusting the Sauce Consistency
Sometimes, the sauce can become too thick or thin during the baking process. If the sauce is too thick, you can add a little extra water to loosen it up. If it’s too thin, you can cook it uncovered for the last 20-30 minutes to reduce the liquid and thicken the sauce. The ideal baked beans should have a rich, thick sauce that clings to the beans without being too soupy.
7. Skipping the Resting Time
After baking, it’s tempting to dive straight into the beans. However, allowing the beans to rest for 5 to 10 minutes after they come out of the oven will help the sauce thicken and settle, improving the texture and flavor. This resting time also allows the beans to absorb any remaining liquid, making them even tastier.
8. Using Canned Beans Instead of Dry Beans (If You Want Homemade Flavor)
While canned beans can be convenient, they won’t provide the same depth of flavor and texture as dry beans. Canned beans are often too soft and may have added preservatives and salt. If you’re looking for authentic, flavorful baked beans, always use dry beans and follow the soaking and cooking steps to get the best results.
9. Not Pre-tasting the Sauce
Before you bake the beans, take the time to taste the sauce. It should have the perfect balance of sweetness, acidity, and savoriness. If the sauce is too tangy, add more sugar or molasses. If it’s too sweet, a little more vinegar can help balance it out. Adjusting the sauce before baking ensures your beans turn out perfectly flavored.
Frequently Asked Questions (FAQs)
- 1. How Long Does It Take to Make Baked Beans from Dry Beans?
It takes about 2-3 hours to make baked beans from dry beans, including soaking, cooking, and baking. The soaking process typically takes 8-12 hours, but you can speed it up with the quick-soak method. Cooking the beans and baking them in the sauce will take another couple of hours.
- 2. Can I Use Canned Beans Instead of Dry Beans?
Yes, you can use canned beans instead of dry beans for convenience. However, dry beans provide a fresher taste and better texture. If you use canned beans, skip the soaking and cooking steps, and just combine them with the sauce and bake them for a shorter time (about 30-40 minutes).
- 3. How Can I Make Baked Beans recipe from Dry Beans Spicier?
To add some heat to your baked beans, try adding chopped jalapeños, chili powder, cayenne pepper, or a splash of hot sauce to the sauce mix. Adjust the level of spice to your liking, and feel free to experiment with different peppers or spices for a custom flavor.
- 4. Can I Freeze Baked Beans?
Yes, baked beans freeze very well. After baking, let them cool completely before transferring them to an airtight container or freezer bag. They can be stored in the freezer for up to 3 months. To reheat, thaw the beans in the refrigerator overnight and heat them on the stovetop or in the oven until warm.
- 5. How Do I Thicken My Baked Beans Sauce?
If your baked beans sauce is too thin, you can thicken it by cooking the beans uncovered for the last 20-30 minutes of baking. Alternatively, you can make a cornstarch slurry (mix 1 tablespoon of cornstarch with 2 tablespoons of water) and stir it into the sauce to thicken it.
Conclusion
Making baked beans from dry beans is a rewarding process that results in a flavorful and satisfying dish. By following the steps carefully and avoiding common mistakes, you can create a perfect batch every time. Whether you stick with the classic recipe or add your own unique twist, baked beans are a versatile and comforting dish that can be enjoyed in many different ways. Enjoy experimenting with flavors and techniques, and don’t forget to share your delicious results with family and friends!
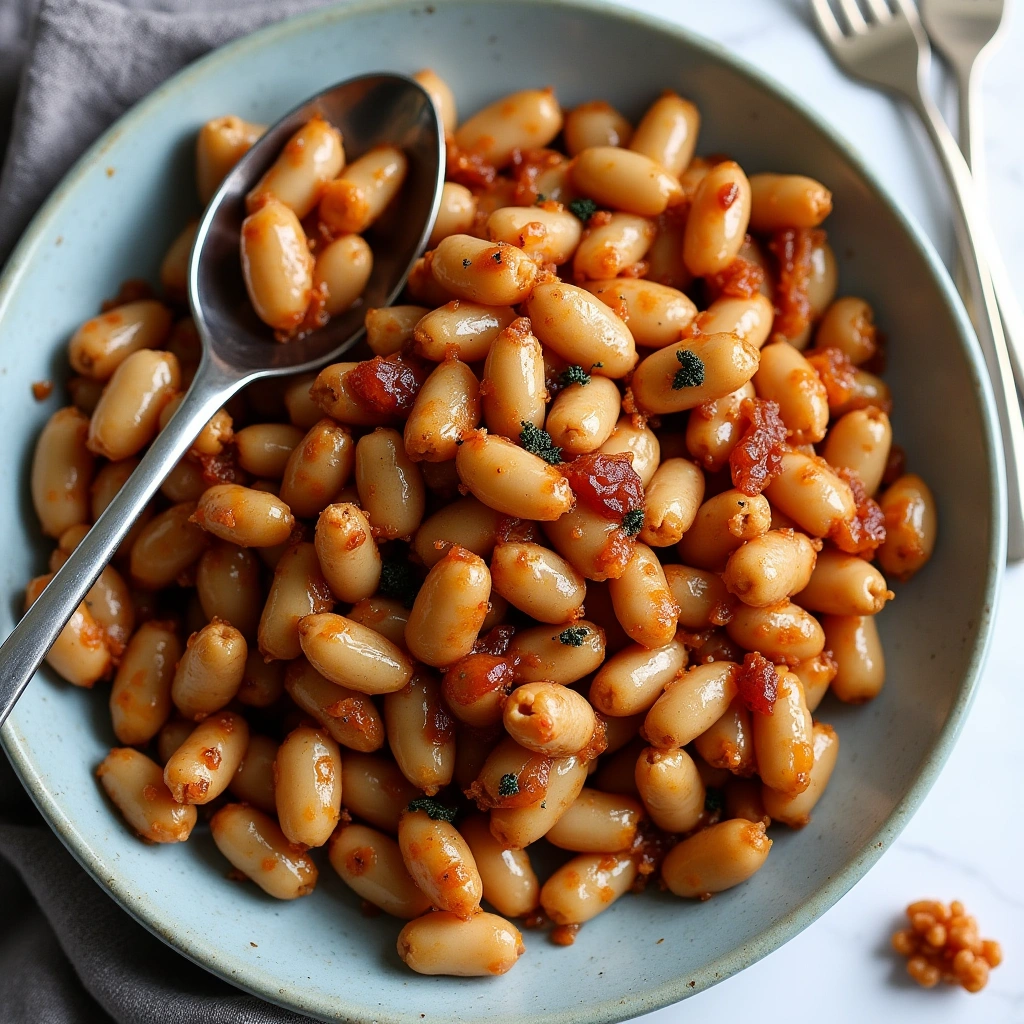
How to Make Flavorful Baked Beans recipe from Dry Beans
Ingredients
Method
- Soak the Beans: Rinse and soak 1 lb dry navy beans overnight or use the quick-soak method.
- Cook the Beans: Drain and cook the beans in fresh water for 45 minutes to 1 hour until tender.
- Prepare the Sauce: Mix molasses, brown sugar, ketchup, mustard, apple cider vinegar, smoked paprika, and other seasonings.
- Combine and Bake: Mix the cooked beans, sauce, onions, and garlic in a baking dish. Add water, cover, and bake at 325°F for 1-1.5 hours, stirring occasionally.
Nutrition
Notes
- Customize the Flavor: Add beef or extra spices for a smoky, spicy twist.
- Consistency: Add water as needed to adjust the sauce thickness during baking.
- Freezing: Baked beans can be frozen for up to 3 months. Reheat on the stovetop or in the oven.


