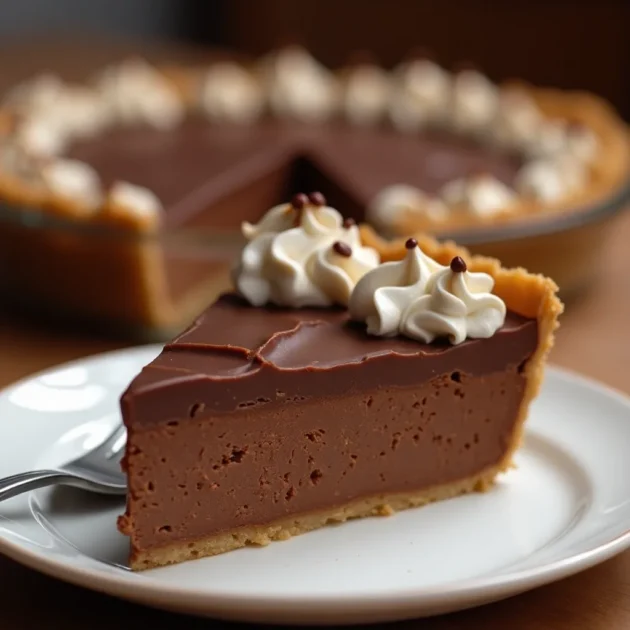
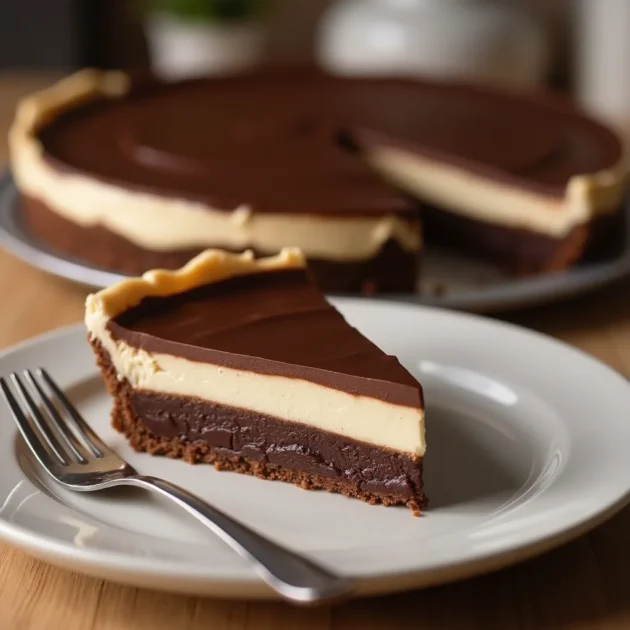
3‑Ingredient Hershey Bar Icebox Pie – No-Bake Treat
3‑Ingredient Hershey Bar Icebox Pie is the easiest no-bake dessert. Chocolate lovers, don’t miss this 3-step creamy delight. Ready in minutes!
Introduction to 3‑Ingredient Hershey Bar Icebox Pie?
A Quick Look at the Icebox Pie Tradition
The concept of an icebox pie goes back to the early 1900s when refrigerators, then called “iceboxes”, started replacing ice chests in American homes. Bakers embraced these new appliances, leading to the creation of pies that didn’t require baking. Instead, they chilled until set. Icebox pies typically involve ingredients like whipped topping, pudding, or cream, all combined and placed in a crust, then left to chill in the fridge for a few hours.
These desserts quickly became summer staples, cool, creamy, and quick to make. Over time, icebox pies have evolved to include more creative, simplified recipes, and none is more beloved than the 3‑Ingredient Hershey Bar Icebox Pie, thanks to its minimal prep and rich chocolate taste.
This dessert is great if you’re a fan of ultra-simple baking hacks. It’s in the same spirit as recipes like The Easiest 2-Ingredient Peanut Butter Cookies
Why the Hershey Bar Version Became So Popular
The real charm of the 3‑Ingredient Hershey Bar Icebox Pie lies in its simplicity and nostalgia. You only need three common ingredients: Hershey’s Milk Chocolate Bars, a pre-made graham cracker or Oreo pie crust, and a tub of frozen whipped topping like Cool Whip. That’s it, no oven, no eggs, no stress.
Ingredients Overview: What You’ll Need for This Chocolate Delight
The Star: Classic Hershey’s Milk Chocolate Bar
The soul of the 3‑Ingredient Hershey Bar Icebox Pie is, unsurprisingly, the iconic Hershey’s Milk Chocolate Bar. This everyday candy bar transforms into a velvety chocolate base once melted and folded into whipped topping. Known for its smooth texture and signature sweetness, Hershey’s chocolate melts evenly and blends perfectly, providing a nostalgic and rich chocolatey flavor.
If you’re wondering whether you need the king-size bar or miniatures, don’t worry, both work. Just make sure you’re using about 6 standard-sized Hershey bars (1.55 oz each) for the right balance of flavor and texture. Pro tip: Break the bars into smaller pieces before melting for a faster, smoother consistency.
Supporting Players: Whipped Topping and Pie Crust
Cool Whip or any whipped topping is ingredient number two. It adds the creamy, fluffy texture that makes this no-bake pie so irresistible. Frozen whipped topping is preferred because of its stability; it helps the pie hold its shape even after chilling. If you prefer a more homemade approach, lightly sweetened whipped cream can work, but it may not hold up quite as long in the fridge.
Finally, the pie crust. You have two easy, crowd-pleasing choices: graham cracker crust or Oreo cookie crust. The graham cracker version adds a light, buttery crunch that balances the chocolate filling. Meanwhile, the Oreo crust leans into chocolate-on-chocolate indulgence. Both are store-bought, pre-formed, and ready to go. Just pour, spread, and chill.
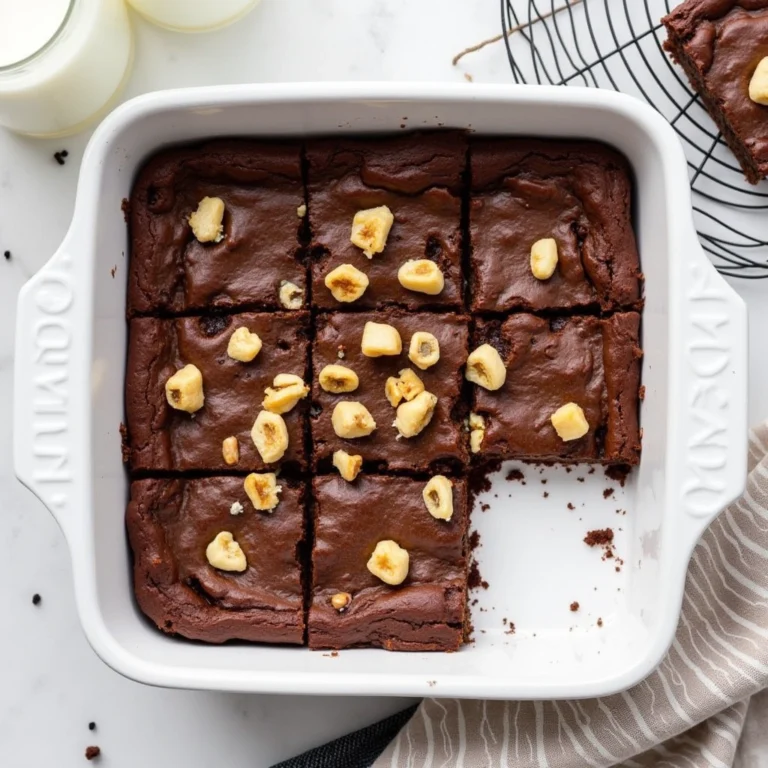
Looking for more no-bake dessert ideas? Try the No-Bake Peanut Butter Banana Pie Dessert, which is creamy, rich, and only takes a few minutes to whip up.
To recap your shopping list:
| Ingredient | Quantity | Notes |
|---|---|---|
| Hershey’s Milk Chocolate | 6 standard bars (1.55 oz) | Broken into pieces for melting |
| Whipped Topping | 1 tub (8 oz) | Frozen Cool Whip preferred |
| Pie Crust | 1 store-bought crust | Graham cracker or Oreo-style |
In just minutes, these three familiar ingredients combine into a dessert that feels fancy but is secretly fuss-free. It’s no wonder this no-bake chocolate pie has become a household favorite.
Step-by-Step Guide: How to Make Hershey Bar Icebox Pie
Melting Chocolate the Right Way
The first and most important step in preparing your 3‑Ingredient Hershey Bar Icebox Pie is melting the chocolate correctly. Hershey’s bars are incredibly forgiving, but a little care ensures a silky-smooth finish.
You have two safe methods for melting:
- Microwave Method
- Break your chocolate bars into small pieces and place them in a microwave-safe bowl.
- Heat in 30-second intervals, stirring between each session, until fully melted.
- Be careful not to overheat, it can scorch quickly.
- Double Boiler Method
- Fill a saucepan with a few inches of water and bring to a simmer.
- Place a heat-safe bowl over the pot, ensuring it doesn’t touch the water.
- Add chocolate and stir constantly as it melts.
Once melted, let the chocolate cool slightly so it doesn’t melt the whipped topping when mixed.
Mixing and Assembling with Precision
Now comes the fun part, blending the flavors and building your no-bake dessert masterpiece.
Step-by-Step Instructions:
- Cool the chocolate for about 5–10 minutes after melting. It should still be warm but not hot.
- Fold in the whipped topping (do not stir aggressively, use gentle folding motions). This step creates that light, mousse-like texture.
- Once well combined, pour the mixture into your prepared pie crust.
- Use a spatula to smooth the top evenly.
- Place the pie in the refrigerator for at least 4 hours to set. For a firmer texture, chill overnight.
Optional: Add shaved chocolate, mini marshmallows, or a drizzle of chocolate syrup before serving.
Pro Tip: Want to serve this chocolate whipped topping pie faster? Pop it in the freezer for 1 hour, then move it to the fridge for another hour to speed up the setting process.
Flavor Variations and Creative Twists
Once you’ve mastered the classic Hershey version, you can play with flavor and texture combinations for every occasion:
Peanut Butter Dream Pie: Add ½ cup of creamy peanut butter to the melted chocolate before folding in the whipped topping. Top with crushed Reese’s Cups for the ultimate chocolate-peanut butter indulgence.
S’mores Icebox Pie: Use an Oreo crust, mix in mini marshmallows, and finish with a drizzle of chocolate syrup and graham cracker crumbs on top.
Mocha Mousse Pie: Add a teaspoon of instant espresso powder to the melted chocolate to create a sophisticated mocha flavor. It pairs beautifully with a dollop of whipped cream and chocolate-covered coffee beans.
Mint Chocolate Delight: Stir in ¼ teaspoon of peppermint extract and garnish with crushed peppermint candies or Andes mints for a refreshing twist during the holidays.
Nutty Crunch: Fold in a handful of chopped toasted almonds, pecans, or hazelnuts for an added layer of crunch.
Each variation keeps the spirit of the original recipe minimal effort, maximum payoff while letting you put your personal stamp on this timeless no-bake dessert.
This simple pie delivers more than just ease, it offers pure satisfaction in every creamy, chocolate-filled bite.
Or go for something a little lighter and fruitier with Blueberry Tiramisu – The Best Fruity Dessert You Must Try.
Storage and Make-Ahead Tips
One of the best things about this pie is how well it stores. Covered tightly with plastic wrap or aluminum foil, the Hershey Bar Icebox Pie will last up to 3–4 days in the refrigerator without losing its texture or flavor.
For longer storage, you can freeze it for up to one month. To do so, wrap the pie securely in a layer of plastic wrap followed by aluminum foil to prevent freezer burn. When ready to serve, move it to the refrigerator and let it thaw for 3–4 hours before slicing. The texture remains creamy and luscious.
If you want a more frozen, ice-cream-like texture, slice it straight from the freezer and let it sit at room temperature for about 10 minutes before serving it’s like a cross between a chocolate mousse and an ice cream pie.
If you loved this 3-Ingredient Hershey Bar Icebox Pie, you’ll enjoy discovering other quick, crowd-pleasing treats that don’t require an oven. Check out Taste of Home’s No-Bake Dessert Collection for more creamy, cool, and effortless recipes that make dessert time a breeze.
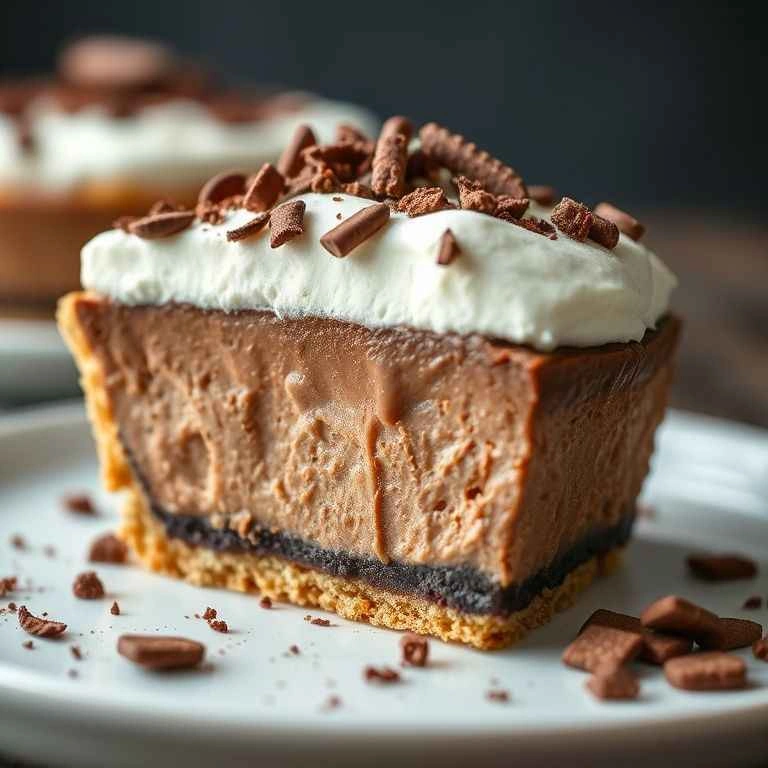
Serving and Presentation Ideas
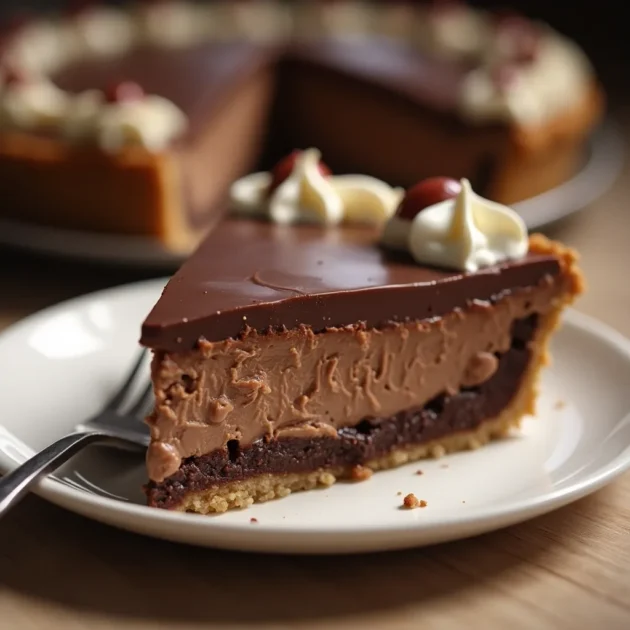
Presentation can elevate even the simplest dessert, and this 3-Ingredient Hershey Bar Icebox Pie is no exception. For a polished finish, spread a thin layer of whipped topping over the top after chilling and garnish with shaved chocolate curls or cocoa powder dusting.
If you’re serving at a dinner party or holiday gathering, consider dressing it up with chocolate drizzle patterns or piped whipped cream rosettes around the edges. A sprinkle of sea salt flakes adds a gourmet touch that perfectly balances the sweetness of Hershey’s milk chocolate.
Want to make individual servings? Spoon the chocolate mixture into mini graham cracker crusts or dessert cups for single-serve portions. They’re elegant, easy to serve, and ideal for parties or buffets.
You can also serve each slice with complementary sides think caramel sauce, fresh strawberries, or a spoonful of vanilla bean ice cream. The contrast between cool chocolate and fruity freshness brings an irresistible balance.
Fun Facts About Hershey’s Chocolate and Icebox Desserts
The Hershey Bar was first introduced in 1900, making it one of America’s oldest and most iconic candy bars. Its recognizable flavor profile slightly tangy and uniquely creamy comes from the use of milk that’s been specially stabilized during production.
Icebox desserts gained fame during the 1930s when “no-bake” recipes appeared on packaging inserts and community cookbooks, often promoted by brands like Hershey’s, Jell-O, and Nabisco.
This pie is a great example of how retro desserts are coming back into modern kitchens simple, nostalgic, and endlessly adaptable.
Bringing a Hershey Bar Icebox Pie to a family gathering or picnic is a nod to that classic tradition of American dessert making one where comfort and convenience meet in the sweetest way possible.
Frequently Asked Questions About Hershey Bar Icebox Pie
Can I use dark chocolate instead of milk chocolate?
Yes, you can. While the traditional 3‑Ingredient Hershey Bar Icebox Pie uses classic Hershey’s milk chocolate, substituting with dark chocolate (such as Hershey’s Special Dark) adds a richer, less sweet flavor. Just note that dark chocolate has a firmer set, so folding it in quickly is key to keeping a smooth texture.
Is Cool Whip required, or can I use homemade whipped cream?
Cool Whip is preferred because it’s more stable and holds up better during chilling. However, you can absolutely use homemade whipped cream, just whip it until stiff peaks form and avoid overbeating. Keep in mind that homemade versions may lead to a softer, more mousse-like consistency.
Can I make this dessert ahead of time?
Absolutely! In fact, the 3‑Ingredient Hershey Bar Icebox Pie is ideal for making in advance. It needs at least four hours to chill and set, but it can easily be made a day before serving. Just cover it tightly and refrigerate until ready to serve.
What’s the best way to slice and serve it?
For the cleanest slices, use a sharp knife dipped in hot water, wiping between cuts. Let the pie sit at room temperature for 10 minutes before slicing to avoid cracking. It pairs beautifully with whipped cream or a scoop of vanilla ice cream.
Will the pie hold up at room temperature?
Only for a short time. Since it’s a no-bake pie made with whipped topping, it’s best kept chilled. At room temperature, it may soften too much or lose structure after 30–45 minutes, especially in warmer environments.
Can I make a dairy-free version of this pie?
Yes! Use a dairy-free chocolate bar (such as Enjoy Life or Hu Kitchen) and swap out the whipped topping for a coconut-based or almond milk-based whipped cream alternative. Use a vegan pie crust and you’ve got a delicious dairy-free, no-bake treat.
Conclusion: Why You Should Try This Dessert Today
If you’ve been searching for an easy dessert that delivers on flavor, texture, and presentation, without requiring fancy techniques or hours in the kitchen,
the 3‑Ingredient Hershey Bar Icebox Pie is it. With just a few basic ingredients, you can create a creamy, chocolatey, no-bake masterpiece that will impress guests and satisfy your sweet tooth.
It’s the perfect solution for busy weeknights, holiday tables, potlucks, or anytime chocolate cravings strike. Whether you stick with the classic recipe or try out fun variations like a peanut butter twist or an Oreo crust, this pie is endlessly customizable and always a hit.