
Pear and Ginger Cake: Easy, Moist & Perfectly Spiced
Bake this pear and ginger cake for a quick, comforting treat. Discover why Greek yoghurt creates the perfect moist crumb. Try this easy recipe today.
Tuesday afternoons in November usually demand something warm from the oven. The rain was lashing against the kitchen window yesterday when I decided to bake. I needed comfort. It’s a proper pear and ginger cake that always does the trick for me. My lighter take on this classic bake uses Greek yoghurt instead of heavy butter, which honestly gives it a gorgeous crumb that stays moist for days without sitting heavy in your stomach after a big Sunday dinner. You’ll get that spicy warmth hitting the back of your throat, followed by the soft sweetness of ripe fruit. It works. I don’t think most people assume a lighter cake means dry sponge, but the moisture from the fruit prevents that entirely. Baking a pear and ginger cake is probably my favourite way to use up those slightly bruised Conference pears sitting in the fruit bowl. You know the ones. They’re looking a bit sad on the counter but transform completely under heat, turning from hard unyielding lumps into soft pockets of jammy sweetness that burst brightly when you bite into a thick, warm slice. We’ll eat this pear and ginger cake warm from the tin with a splash of cold milk. Perfect. I’ll admit I’ve made three this month already.
Why my lighter pear and ginger cake actually holds together
Getting a wet batter to rise properly requires a bit of balance. Too much fruit and it sinks. Too little and you won’t miss the point entirely, but it’s close. This pear and ginger cake relies on a specific ratio of wet to dry ingredients that I’ve tweaked over several messy attempts. The Greek yoghurt brings acidity, reacting with the bicarbonate of soda to create immediate lift the second it hits the hot oven. Science in action. I’m usually preferring fresh grated ginger root over the powdered stuff because the flavour profile is significantly sharper, cutting through the sweetness of the sponge with a fierce heat that wakes up your palate immediately. A lot of older recipes call for black treacle, which I genuinely don’t find appealing for an afternoon treat, often masking the delicate flavour of the fruit completely. We’re using light brown sugar instead. It isn’t dominating the delicate fruit. You bake this pear and ginger cake at 180°C (Gas Mark 4) for exactly forty-five minutes. Trust me. You shouldn’t peek before the forty-minute mark. Opening the oven door too early is a guaranteed way to collapse the centre of your pear and ginger cake, leaving a dense puddle of soggy dough in the middle of your baking tin that no amount of extra baking time will ever manage to fix properly.
Ingredients
Finding the right fruit makes a massive difference here. I usually grab a bag of Conference pears from Aldi or SuperValu because they hold their shape beautifully when baked, avoiding that dreadful mushy texture that ruins so many fruit sponges when you slice into them the next day. Bosc works too. You’ll want them ripe but not total mush, otherwise they release too much water into the batter. I’d say the ginger is equally crucial. Look for a firm root with tight skin. If I’m honest, I grate it skin and all when I’m in a rush, because peeling fresh ginger with a teaspoon is a terribly tedious task that I simply do not have the patience for on a busy midweek evening when I just want something sweet. I also use Kerrygold butter for greasing the tin, though any good butter does the job.
To keep things light, Glenilen Farm natural yoghurt is my go-to choice. It’s bringing a lovely tang. If you’re enjoying baking with fruit, you might also like trying an apple oatmeal muffins batch next weekend. I reckon having a reliable pear and ginger cake in your repertoire saves you from buying overpriced coffee shop treats when the mid-afternoon slump hits. The moisture from the yoghurt means this bake stays fresh in an airtight container for up to four days, though it doesn’t last that long in my house.
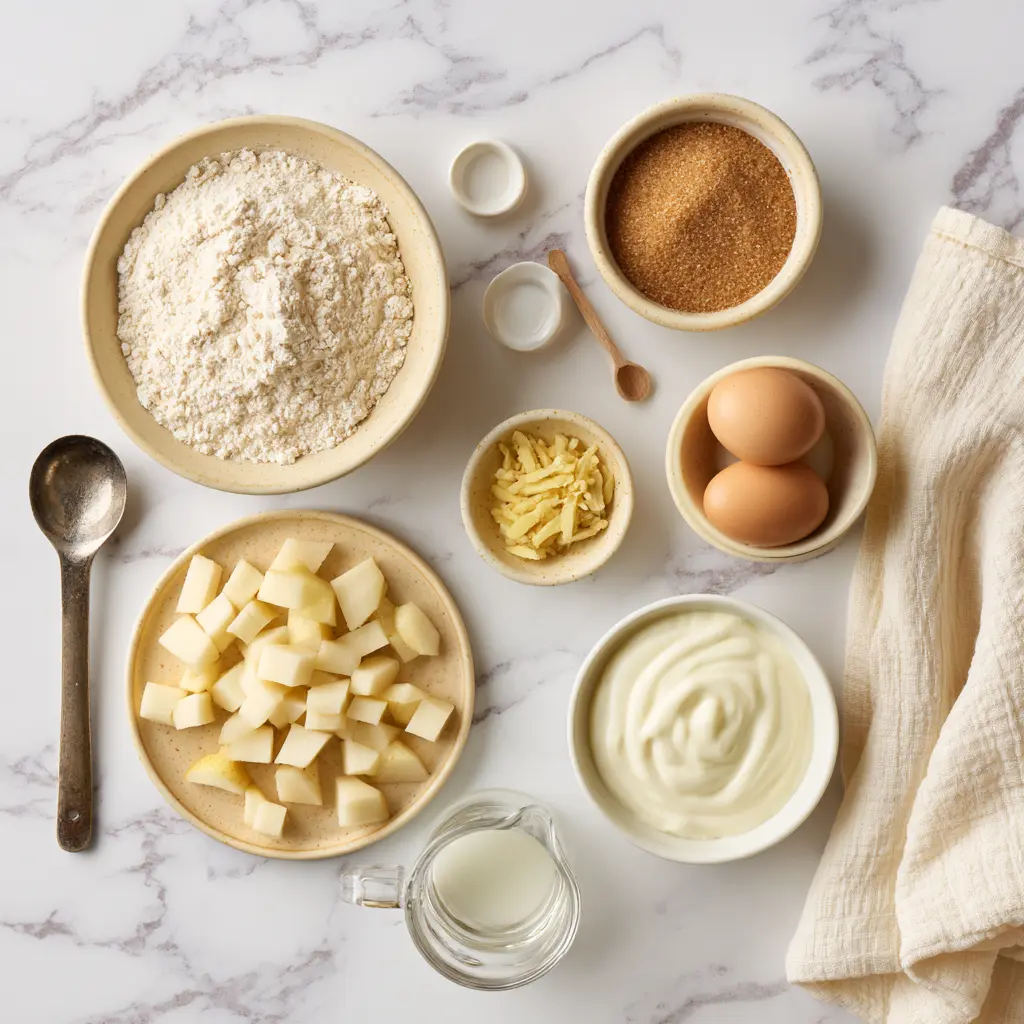
What you need
- 225g (8oz) self-raising flour
- 1 teaspoon bicarbonate of soda
- 150g (5oz) light brown sugar
- 2 medium Conference pears (peeled and diced)
- 1 tablespoon fresh ginger (finely grated)
- 2 large eggs
- 150ml (5fl oz) natural Greek yoghurt
- 60ml (2fl oz) rapeseed oil
- 1 teaspoon vanilla extract
5 Simple Steps to a Lovely Light Bake
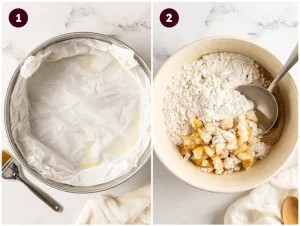
- Prep the tin
Line a 20cm (8 inch) square baking tin with parchment paper. Preheat your oven to 180°C (Gas Mark 4). I’ve rubbed a tiny bit of oil on the tin first so the paper sticks flat to the sides, which stops the batter from leaking underneath and burning onto the metal corners during the long bake.
2. Mix dry goods
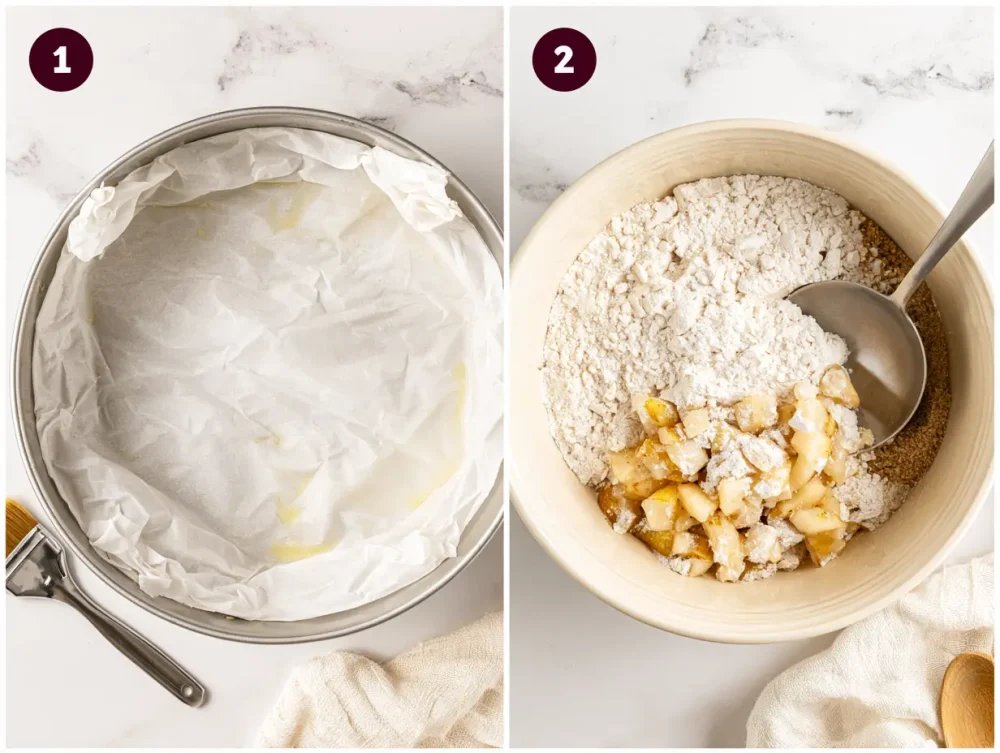
Weigh the flour, bicarbonate of soda, and sugar into a large mixing bowl. You’re tossing the diced fruit into this dry mix immediately. Coating the fruit in flour stops it from sinking to the bottom of your pear and ginger cake during the bake. Mix gently.
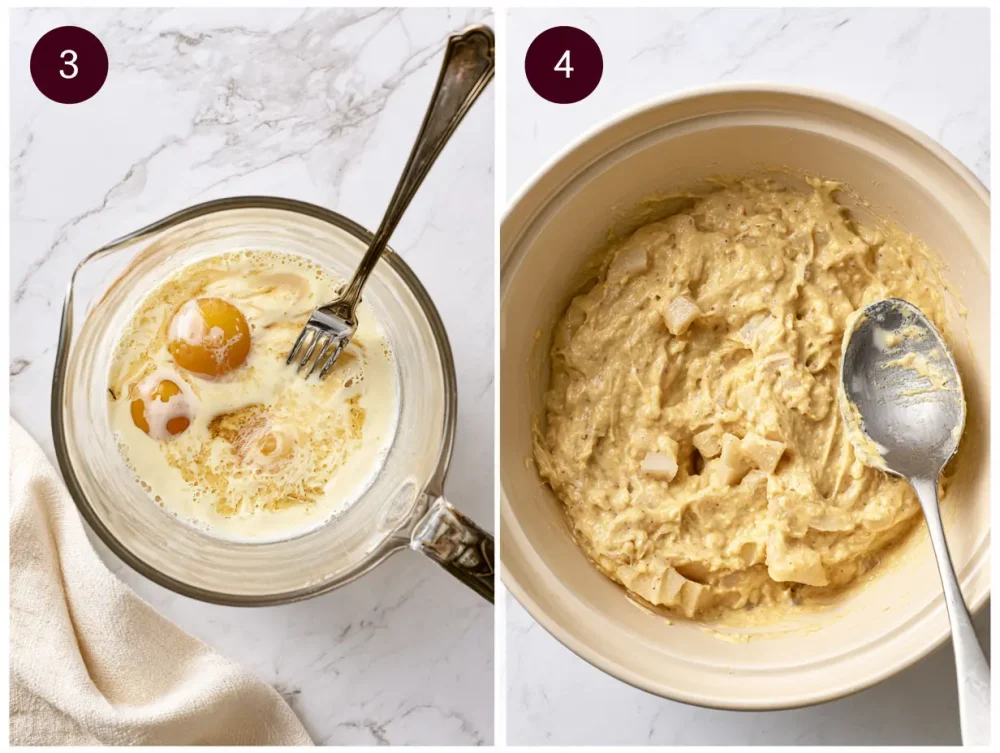
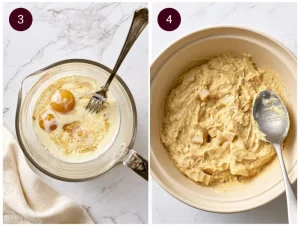
3. Whisk wet ingredients
You’ll crack the eggs into a measuring jug. Add the yoghurt, oil, grated ginger, and vanilla extract. Beat everything together with a fork until the mixture looks smooth and pale. If you’re liking yoghurt in batters, a bread using cottage cheese is another brilliant technique to try when you have leftover dairy in the fridge.
4. Fold and combine
You’re pouring the wet jug mixture into the dry bowl. Gently fold everything together using a large metal spoon. Stop mixing the second you can’t see streaks of dry flour. Overmixing means it’s going to be tough.
*Cook’s note: I wasn’t right about resting batters previously, but for this recipe, leaving the mixture to sit for even five minutes activates the raising agents too early, so get it straight into the oven.*
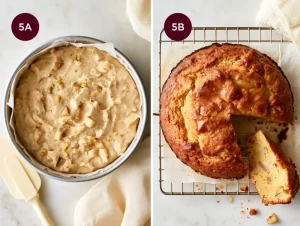
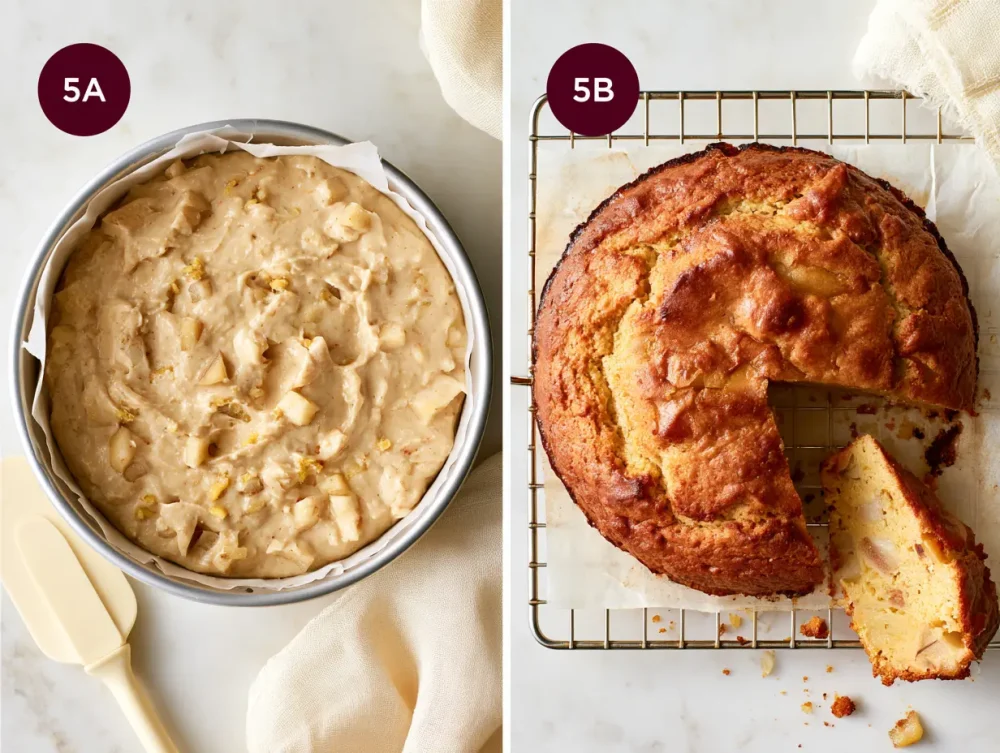
5. Bake and cool
Scrape the batter into your lined tin. Bake for 45 minutes on the middle shelf. Check the centre with a skewer. It shouldn’t be long before it comes out clean. Leave the pear and ginger cake in the tin for ten minutes before moving it to a wire rack.
The Sunday afternoon shift
My kitchen counter was a total disaster zone last Sunday. Flour everywhere. Ginger peelings stuck to the chopping board. I was trying to rush through making this pear and ginger cake before my sister arrived for tea, throwing ingredients into bowls without weighing them properly at first, before catching myself and starting over completely because baking simply does not tolerate guesswork, especially with wet fruit. The doorbell rang right as I was pulling the hot tin from the oven. Timing. We sat at the kitchen island, burning our fingers slightly as we broke off chunks of the warm sponge. She actually asked for the recipe immediately. That rarely happens. I think the smell of a baking pear and ginger cake just disarms people, wrapping them in this cosy blanket of spices. I’ve ruined plenty of bakes in my time by overcomplicating things. Keeping this pear and ginger cake simple is the whole point. It doesn’t need icing. It doesn’t need a fancy glaze. That’s the whole point. Just good fruit, a sharp hit of spice, and a strong cup of Barry’s tea on the side.
Notes from the kitchen
I tested this recipe eight times last October before getting the crumb right. The first disaster happened when I grated the fruit instead of dicing it, which released so much excess water that it turned my pear and ginger cake into a heavy, steamed pudding that stubbornly refused to bake through in the middle despite an extra twenty minutes in the oven. Bin.
A week later, I tried using a glass Pyrex dish instead of a metal tin because my flatmate had hidden the baking gear. Terrible idea. The glass insulated the batter too much. That particular pear and ginger cake took over an hour to cook and ended up with rock-hard edges. Completely inedible.
My third major failure involved doubling the baking powder thinking it would make the sponge significantly lighter, but the batter rose beautifully for twenty minutes before collapsing spectacularly into a cratered, dense mess that tasted strongly metallic and had to be thrown out to the birds immediately. I was wrong. I’ve learned that you can’t mess with the chemical balance of a pear and ginger cake if you want it to slice cleanly. Use a metal tin. Dice the fruit into roughly one-centimetre cubes. The texture progression should go from a slightly crisp top crust down to a soft, yielding crumb that melts in your mouth.
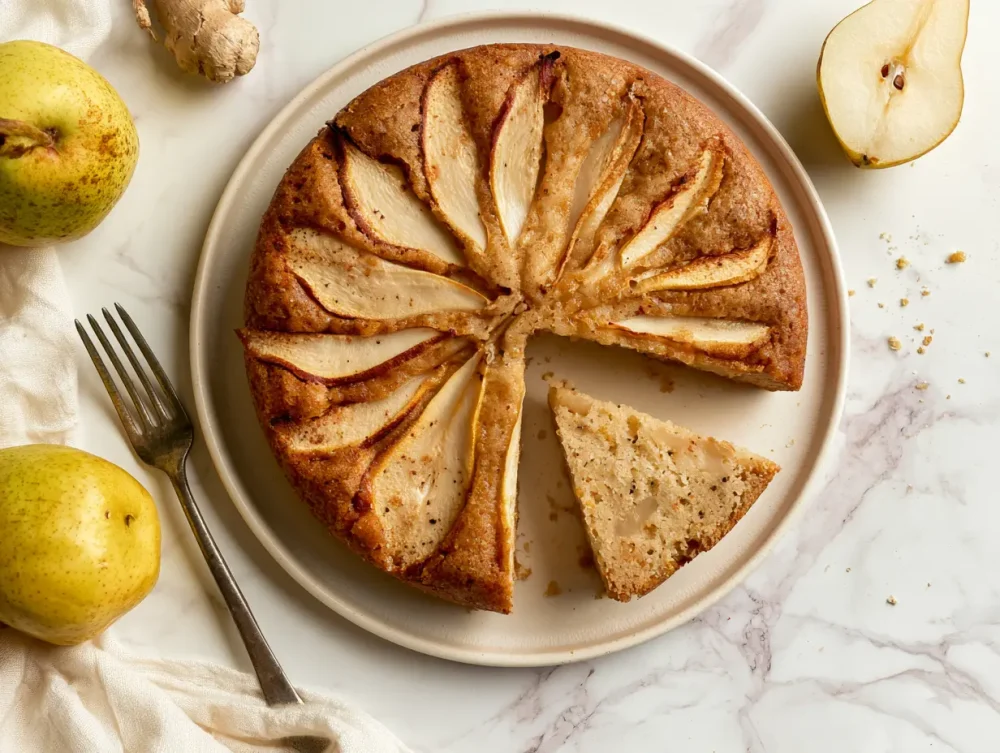
Tips for a better bake
Use cold eggs straight from the fridge if you want a slightly denser crumb. I usually prefer room temperature, but cold eggs slow the rise slightly, which isn’t always a bad thing.
Toss the fruit in a spoonful of flour before adding it to the wet mix. This stops the chunks sinking straight to the bottom of your pear and ginger cake during the long bake. Try it.
Check your spices because ground ginger loses its punch after six months in the press. I’ve ruined a pear and ginger cake by using a dusty old jar from 2021. You need that sharp kick. If you want a different treat with similar warm spices, try a cottage cheese pumpkin muffins batch instead.
Variations to try
Adding a handful of chopped walnuts gives this pear and ginger cake a brilliant crunch that contrasts with the soft fruit. Just fold them in right at the end.
You can swap the light brown sugar for dark muscovado if you prefer a deeper flavour profile. A dark muscovado pear and ginger cake pairs beautifully with a strong black coffee on a cold morning.
Serving suggestions
A thick slice of warm pear and ginger cake demands a generous dollop of cold crème fraîche on top. The temperature contrast is brilliant. I’ll often serve this after a heavy Sunday roast of beef and root vegetables. If you want a lighter main course first, a lemony shrimp and bean stew leaves plenty of room for dessert. Sometimes I just eat a cold square of pear and ginger cake standing by the fridge on a Monday morning.
When this earns its place in my week
I usually bake this pear and ginger cake on a Tuesday evening when the work week feels entirely too long. The kitchen fills with that sharp, spicy smell right around seven o’clock, completely masking the scent of whatever boring dinner I just cooked. I’ll wrap two slices in tin foil for my Wednesday office lunch, saving me three euros a slice at the local café. Sitting at my desk with a lukewarm canteen tea and a square of homemade pear and ginger cake makes the afternoon slump infinitely more bearable, especially when the weather is absolutely miserable outside and the office heating is broken. My neighbour actually knocks on the door now if she smells it baking.
Storage and meal prep
Keep your cooled pear and ginger cake in an airtight plastic tub on the counter for up to three days. Do not put it in the fridge. The cold air alters the starches and turns the crumb stale almost immediately. Not ideal. You can freeze individual slices of pear and ginger cake wrapped tightly in cling film for up to two months. Defrost them at room temperature for a few hours.
Nutrition note
Using Greek yoghurt instead of butter reduces the heavy fats while keeping the sponge incredibly moist. The fresh ginger adds a bright, sharp element that wakes up the palate. Pears are a brilliant source of dietary fibre, especially when you leave the skins on, which helps keep you satisfied for longer after a slice. I like knowing my afternoon snack has some actual nutritional value rather than just empty sugars, and according to the HSE guidelines on healthy eating, incorporating whole fresh fruits into your weekly baking routine is a highly practical way to increase your daily fibre intake without feeling deprived. This pear and ginger cake feels like a proper treat without sitting heavily in your stomach.
Common mistakes
Overmixing the batter is a guaranteed way to ruin the texture. The second you can’t see dry flour, put the spoon down. Absolutely ruined.
Using rock-hard, underripe fruit means the chunks won’t soften during the bake. Your pear and ginger cake will end up with crunchy, unpleasant lumps instead of jammy pockets of sweetness.
FAQ
Can I use tinned fruit instead of fresh?
Yes, but you must drain them thoroughly and pat them completely dry with kitchen roll. The syrup from tinned fruit adds too much extra moisture to the batter.
Why did my sponge sink in the middle?
This usually happens if you open the oven door too early to check on the bake. The sudden drop in temperature causes the rising agents to collapse completely before the crumb structure sets. Always wait at least forty minutes before taking a peek.
Do I need to peel the fruit first?
I always peel them for this specific recipe because the skins can become slightly tough and stringy when baked in a quick sponge. While leaving the skins on works perfectly fine for rustic crumbles or slow-cooked compotes, a light sponge requires a uniform, soft texture throughout. Taking two minutes to peel them makes a massive difference to the final bite.
A warm slice of this bake with a strong cup of tea fixes most miserable rainy afternoons. The sharp spice and soft fruit combination is something I never get tired of making. I’ll definitely be baking another batch this weekend.
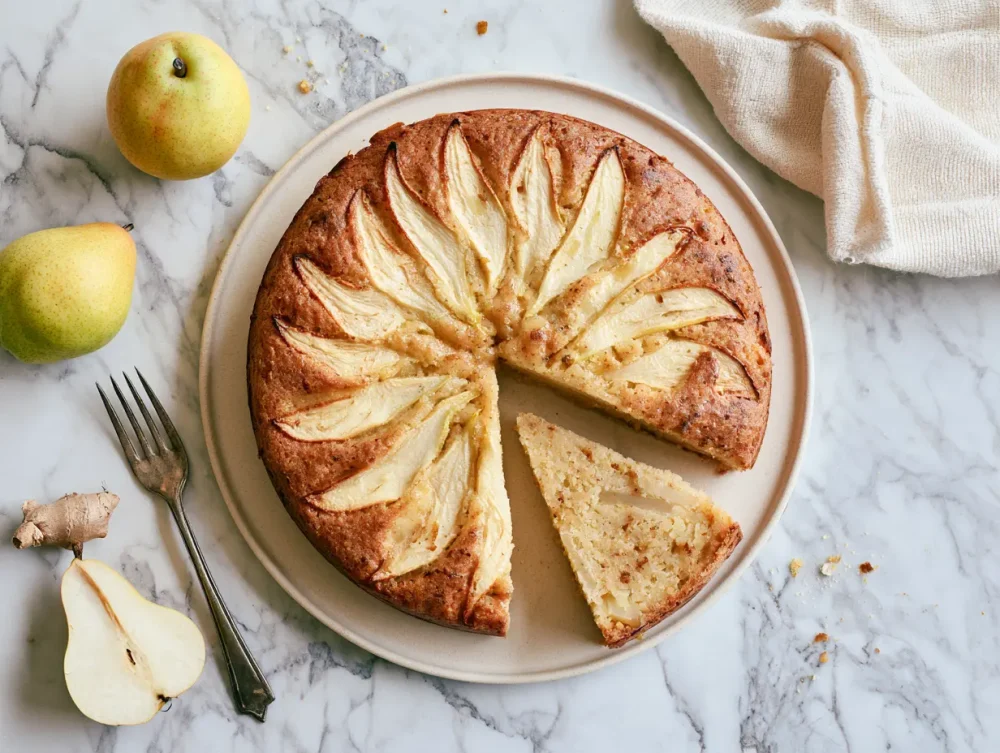

Pear and Ginger Cake
Ingredients
Equipment
Method
- Preheat the oven to 180°C (Gas Mark 4). Lightly grease a 20 cm (8-inch) square metal baking tin with a little rapeseed oil, then line the base and sides with baking parchment. Press the paper firmly into the corners.

- Peel and core the Conference pears, then dice the flesh into approximately 1 cm cubes. Finely grate the fresh ginger and set it aside for the wet ingredients.
- Place the self-raising flour, bicarbonate of soda and light brown sugar in a large mixing bowl. Stir to distribute the ingredients evenly. Add the diced pears and toss gently until the fruit is lightly coated in the flour mixture. This helps prevent the pear pieces from sinking during baking.
- Crack the eggs into a measuring jug or separate bowl. Add the Greek yoghurt, rapeseed oil, finely grated fresh ginger and vanilla extract. Whisk with a fork until the mixture is smooth and evenly combined.
- Pour the wet ingredients into the bowl containing the flour, sugar and pears. Fold gently with a large metal spoon until no streaks of dry flour remain. Avoid overmixing, as this can make the finished sponge tough. Do not leave the mixed batter to rest.
- Immediately scrape the batter into the prepared baking tin. Spread it evenly into the corners and level the surface gently with the back of a spoon.
- Place the tin on the middle shelf of the preheated oven and bake for approximately 45 minutes at 180°C. Avoid opening the oven during the first 40 minutes. Check the centre with a skewer; it should come out clean or with a few moist crumbs, but without wet batter.
- Remove the cake from the oven and leave it in the tin for 10 minutes. Carefully transfer it to a wire rack to cool further. Cut into nine equal squares and serve warm or at room temperature.